
Caulking, Weatherstripping, and the Other Cheap Fixes That Cut Utility Bills

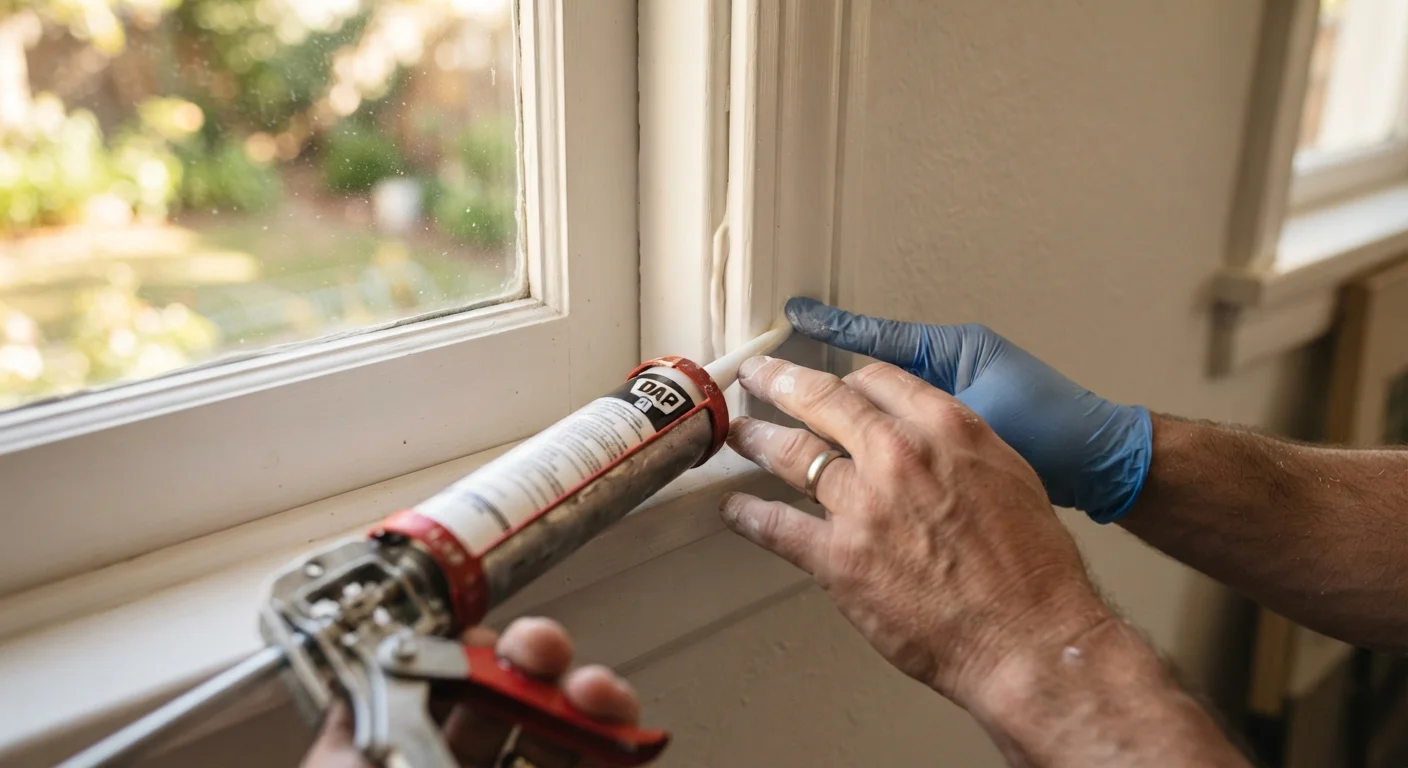
Photo: primesearches.net editorial
Key Takeaways
- Air leaks around windows, doors, and pipes can account for a significant share of home heating and cooling loss.
- Caulk and weatherstripping are inexpensive materials that most homeowners can apply without professional help.
- Sealing attic bypasses and basement rim joists often delivers more savings than window treatments alone.
- Outlet and switch plate gaskets on exterior walls are a fast, overlooked fix that costs very little.
- Combining multiple small sealing tasks compounds the energy savings across seasons.
Where the air actually escapes
Most homeowners picture drafty windows when they think about heat loss, but the biggest leaks are often in less obvious spots. The U.S. Department of Energy has documented that air infiltration through gaps, cracks, and uninsulated cavities can account for 25 to 40 percent of heating and cooling energy use in a typical home. The good news is that the fixes for most of these leaks cost only a few dollars in materials and an afternoon of work.
Before spending money anywhere, walk through your home on a cold, windy day and feel for drafts at baseboards, around window and door frames, at pipe penetrations, and along the top of the basement wall. A stick of incense held near suspected gaps will show air movement even where you cannot feel it. That inspection shapes which fixes belong at the top of your list.
Pairing air sealing with other maintenance work compounds the results. A clogged furnace filter forces your HVAC system to run longer, so addressing both leaks and filtration together stretches every dollar further. See our guide on furnace filter maintenance for the full picture on that side of the equation.
Caulk window and door frames inside and out
Silicone or siliconized latex caulk applied along the joint between a window or door frame and the surrounding wall stops air that travels through the framing cavity. Work both the interior and exterior sides because each gap is an independent path. Clean out old cracked caulk first with a utility knife or caulk remover tool so the new bead bonds properly. A single tube typically covers 30 to 50 linear feet and costs under five dollars.
Paintable latex caulk works well for interior trim where you want a clean finish. Pure silicone holds up better on exterior surfaces exposed to temperature swings and moisture. Let the caulk cure fully before painting over it.
One tube of caulk covers up to 50 linear feet and costs under five dollars.
Replace worn weatherstripping on exterior doors
Weatherstripping seals the moving gap between a door and its frame. Over time, foam, felt, or rubber strips compress and crack, leaving visible daylight around the door edge. A basic V-strip (tension seal) or door sweep on the bottom replaces that lost seal at low cost.
To test your current seal, close the door on a piece of paper. If the paper slides out with little resistance, the stripping needs replacement. V-strip weatherstripping presses into the door channel and can last several years before needing attention again. Door sweeps attach to the bottom edge with screws and block the gap between the door and the threshold.
If a piece of paper slides out from a closed door, the weatherstripping needs replacing.
Seal outlet and switch plates on exterior walls
Electrical boxes mounted on exterior walls sit in a cavity that connects directly to the wall framing and, in many homes, to the outdoors. Pre-cut foam gaskets sized to fit standard outlet and switch plates are available at hardware stores for about one dollar each. Remove the cover plate, press the gasket behind it, and replace the plate. The job takes less than five minutes per outlet.
This fix is particularly worth doing in older homes where the wall cavities have little or no insulation. In those situations, each unsealed box functions as a small but constant air duct.
Foam outlet gaskets cost about one dollar each and take five minutes to install.
Insulate and seal the attic hatch
The attic hatch is one of the most common sources of heat loss in a home because it sits directly above conditioned living space with little or no insulation between them. Add weatherstripping around the frame to stop air movement, then attach rigid foam board insulation to the back of the hatch panel itself. Aim for at least R-10 on the hatch, though R-15 or higher is worthwhile if your attic is very cold in winter.
Pull-down attic stairs present a larger challenge because they are harder to air-seal. An insulated tent cover placed over the stairway opening from the attic side is a practical solution that does not require modifications to the stairs themselves.
An uninsulated attic hatch can lose as much heat as a small open window.
Foam-seal pipe and wire penetrations in the basement
Pipes and wires entering the living space from the basement or crawl space pass through holes that are often much larger than the pipe or wire itself. Expanding spray foam fills these gaps in seconds and creates an air and moisture barrier. Use minimal-expanding foam (sometimes labeled for windows and doors) around PVC pipes to avoid cracking them. Standard expanding foam works well around metal pipes, conduit, and wood framing.
The rim joist, the horizontal framing member that sits on top of the foundation wall, is another major infiltration site. Cutting rigid foam board to fit each bay between floor joists and sealing the edges with caulk or foam addresses a large portion of basement air leakage in one pass.
Sealing the rim joist with rigid foam addresses a major share of basement air leakage.
Install door sweeps on interior doors to unconditioned spaces
Doors leading to garages, unheated utility rooms, or attic access points need the same treatment as exterior doors. A door sweep blocks the gap at the floor, and foam weatherstripping on the frame sides and top completes the seal. This matters most in homes where the garage shares a wall with a living area, because garage air tends to be colder in winter and warmer in summer than the conditioned interior.
Fire safety codes in most U.S. jurisdictions require that the door between a garage and living space be self-closing and solid-core. Verify that any door in this location meets local requirements before making modifications, and consult a qualified contractor if you are unsure whether your current door complies.
Doors to unconditioned spaces need sealing just as much as exterior entry doors.
Getting the most from your effort
Air sealing is one of the few home improvements where the payback period can be measured in months rather than years. Work from the attic floor and basement ceiling outward toward windows and doors, because the hidden cavities move the most air volume. Use the right material for each gap: caulk for static cracks, weatherstripping for moving parts, and spray foam for larger voids around pipes and wires.
Work from biggest leaks to smallest
Reducing air leaks at home follows the same logic as cutting waste in other spending categories. If your household is working through multiple budgets at once, reducing grocery waste is another area where small habit changes accumulate into real savings. And if utility bills are one piece of a broader monthly cost review, a seasonal home walkthrough can surface other small repairs before they grow expensive.
The content provided on our blog site traverses numerous categories, offering readers valuable and practical information. Readers can use the editorial team’s research and data to gain more insights into their topics of interest. However, they are requested not to treat the articles as conclusive. The website team cannot be held responsible for differences in data or inaccuracies found across other platforms. Please also note that the site might also miss out on various schemes and offers available that the readers may find more beneficial than the ones we cover.