
Grout Cleaning, Resealing, and Repair: Keeping Tile Looking New Without Replacing It

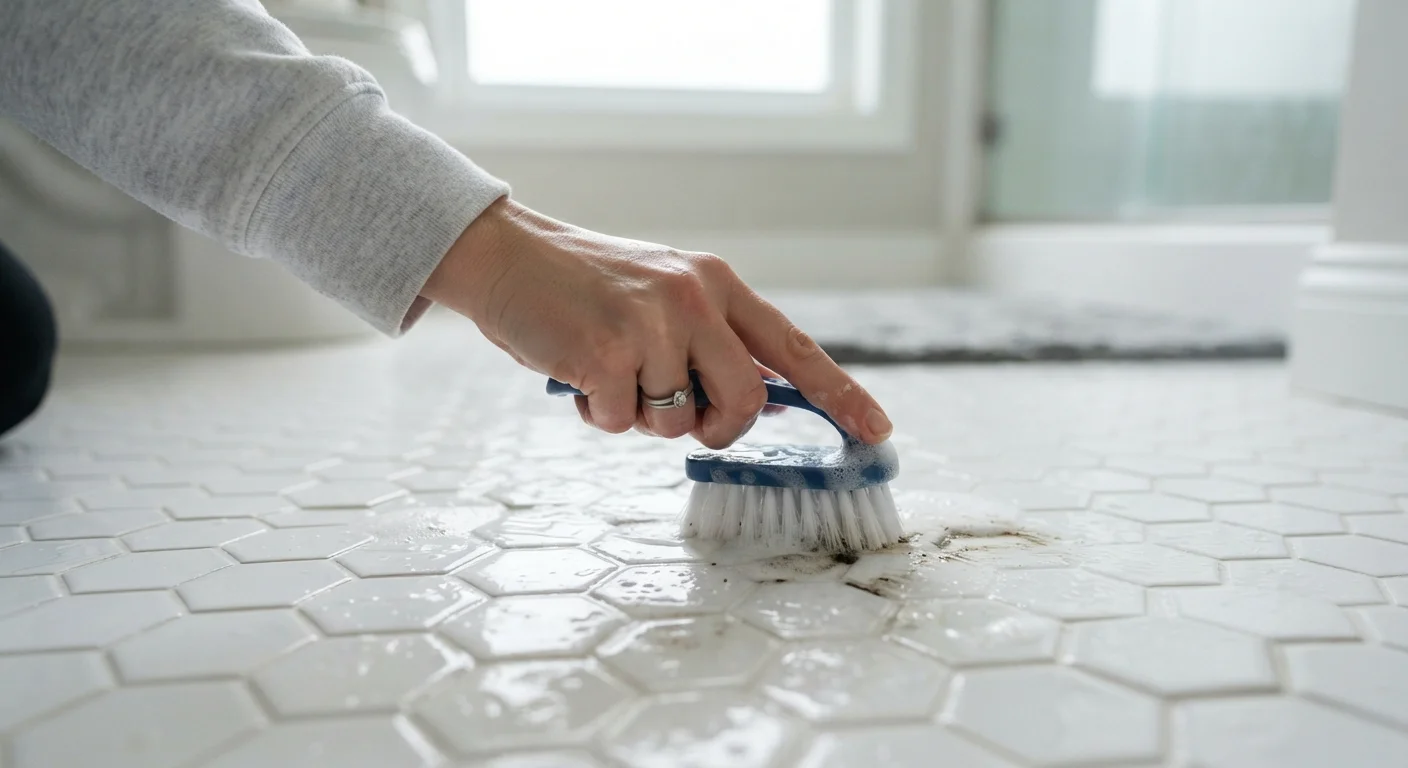
Photo: primesearches.net editorial
Key Takeaways
- Cleaning, resealing, and repairing grout can restore tile surfaces without the cost of full replacement.
- Most grout problems stem from missing sealer, improper cleaning, or minor physical damage that builds over time.
- Grout sealer should be reapplied every one to two years in wet areas like bathrooms and kitchens.
- Cracked or crumbling grout can be removed and replaced section by section without disturbing surrounding tiles.
- Consistent, gentle cleaning prevents stain buildup that makes grout difficult or impossible to restore later.
Why grout deteriorates and when to act
Grout is a cement-based filler, and like any porous material it absorbs moisture, soap scum, mold spores, and cleaning product residue over time. In high-traffic or wet areas, this process accelerates. Grout that looks gray or brown when it was originally white has usually absorbed years of grime. Grout that is flaking, cracked, or missing in spots has physically broken down.
The good news is that both problems are treatable. Discoloration responds to thorough cleaning and resealing. Physical damage requires removing the compromised grout and pressing in fresh material. Knowing which condition you are dealing with helps you decide where to start.
Check your grout by running a fingertip along a joint. If it feels rough and crumbles slightly, plan to regrout those sections. If the surface is intact but stained, cleaning is your first move.
What you will need
How to clean grout thoroughly
Before applying any product, remove loose dirt with a dry brush. A stiff-bristled grout brush or an old toothbrush works well for this.
Apply a cleaning solution to the grout lines
Spray a diluted white vinegar solution (equal parts vinegar and water) or a pH-neutral tile cleaner directly onto the grout. Let it sit for five to ten minutes to loosen buildup. Do not use undiluted vinegar on natural stone tile such as marble or travertine, as the acid can etch the surface.
Scrub the joints firmly
Use a grout brush or old toothbrush to scrub each joint with short back-and-forth strokes. Apply firm pressure but avoid metal bristles. For floor tile, you can use a drill brush attachment to speed up the process on large areas.
Rinse thoroughly and let dry completely
Rinse the area with clean water using a damp sponge or mop, removing all cleaning solution and loosened grime. Change rinse water frequently so you are not spreading dissolved dirt back onto the grout. Allow the surface to dry completely, which may take several hours in a bathroom without good ventilation.
For grout that remains stained after a thorough clean, a paste of baking soda and water applied overnight can lift deeper discoloration. Apply the paste, let it sit, then scrub and rinse in the morning. Avoid using wire brushes, which scratch tile glazing.
Repairing cracked or missing grout
Once cleaned and dry, inspect the joints for physical damage. Hairline cracks and small missing sections are normal in older tile installations and straightforward to fix.
Use a grout saw or oscillating tool to remove loose, crumbling grout to a depth of roughly 1/8 inch. Vacuum out the debris completely. Mix unsanded grout for joints narrower than 1/8 inch, or sanded grout for wider joints, following the package directions. Press the new grout firmly into the joint with a rubber float held at a 45-degree angle, then wipe the tile surface diagonally with a damp sponge before the grout sets.
Allow new grout to cure for the time listed on the packaging, typically 24 to 72 hours, before exposing it to water.
Match grout color before you buy
Resealing grout to prevent future damage
Sealer fills the pores in cured grout, slowing moisture and stain absorption. Unsealed or poorly sealed grout in a shower or kitchen backsplash can begin absorbing grime within weeks of installation or repair.
Apply sealer only after grout is completely clean and dry. Wet or contaminated grout will trap the sealer over the stain, locking it in rather than protecting against it. Use a foam applicator brush or a sealer-specific roller to coat the grout lines. Wipe excess sealer off the tile surface within the time window listed by the manufacturer, usually five to ten minutes, before it hazes over.
Test the seal once it has cured by dripping a few drops of water onto the grout. Water should bead up. If it soaks in, apply a second coat. Plan to reseal high-moisture areas every one to two years and lower-traffic areas every three to four years.
The content provided on our blog site traverses numerous categories, offering readers valuable and practical information. Readers can use the editorial team’s research and data to gain more insights into their topics of interest. However, they are requested not to treat the articles as conclusive. The website team cannot be held responsible for differences in data or inaccuracies found across other platforms. Please also note that the site might also miss out on various schemes and offers available that the readers may find more beneficial than the ones we cover.